文档
Eclipse --> Windows--> Preferences ...
3. Set up Variables:
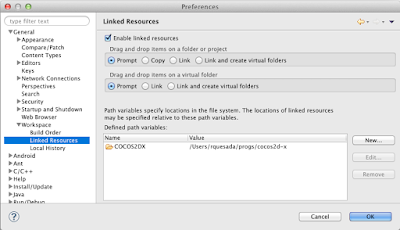
1. Path Variable `COCOS2DX`:* Eclipse->Preferences->General->Workspace->**Linked Resources**
* Click **New** button to add a Path Variable `COCOS2DX` pointing to the root cocos2d-x directory.

2. C/C++ Environment Variable `NDK_ROOT`:
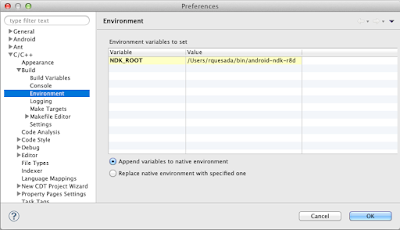
* Eclipse->Preferences->C/C++->Build->**Environment**.
* Click **Add** button and add a new variable `NDK_ROOT` pointing to the root NDK directory.

* Only for Windows: Add new variables **CYGWIN** with value `nodosfilewarning` and **SHELLOPTS** with value `igncr`
4. Import libcocos2dx library project:
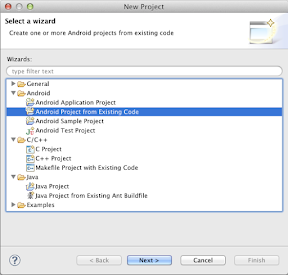
1. File->New->Project->Android Project From Existing Code.
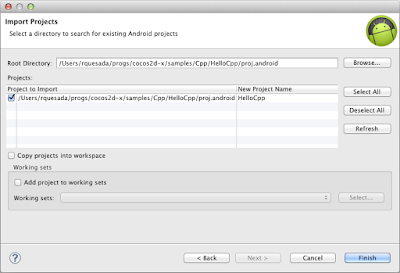
2. Click **Browse** button and open `cocos2d-x/cocos2dx/platform/android/java` directory.
3. Click **Finish** to add project.
#### Adding and running from Eclipse
 
1. File->New->Project->Android Project From Existing Code
2. **Browse** to your project directory. eg: `cocos2d-x/cocos2dx/samples/Cpp/TestCpp/proj.android/`
3. Add the project
4. Click **Run** or **Debug** to compile C++ followed by Java and to run on connected device or emulator.